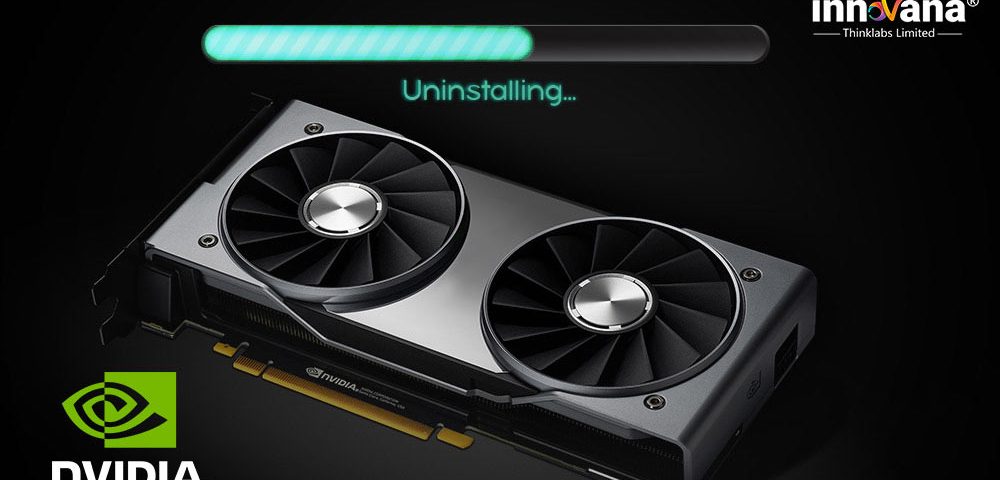
How to Uninstall NVIDIA Drivers on Windows 10

How to Download Focusrite Scarlett 2i4 Drivers on Windows PC
19 noviembre, 2021
How to Download Focusrite Scarlett Solo Driver for Windows PC
19 noviembre, 2021How to Uninstall NVIDIA Drivers on Windows 10
Want to uninstall Nvidia drivers on Windows 10 without affecting the system’s integrity? Have a look at some safe ways to uninstall the driver easily.
Everybody knows that Graphics Processing Units (GPUs) or graphics cards are required to play high-end games on Windows and other devices. If you want to run the GPU smoothly, you need to install respective drivers too.
Drivers make sure that your graphics card provides optimal performance as required. Without drivers, you can not run the GPU properly, but sometimes drivers also need to be uninstalled.
You may need to uninstall the existing driver mainly under two circumstances. First, you are upgrading or changing the GPU and do not want the driver anymore. Second, you are facing repeated problems with the performance of the driver.
Whatever the case may be, in this article we will provide some effective ways to uninstall Nvidia drivers on Windows 10, 8, 7, and other OS. with the help of these methods, you can safely remove the driver without affecting the integrity of the system.
To uninstall a driver, the first thing you should do is reboot your computer in safe mode. So, before going over the solutions, let’s have a look at the procedure to reboot the system in Safe Mode.
How to Run Your PC in Safe Mode
Before you go and remove Nvidia drivers, you should run your PC in safe mode. Safe Mode helps in fixing most of the issues very easily. When you apply the Safe mode before uninstall, you ensure that your PC will be stable afterward and won’t cause any problem.
Follow these steps to run your PC in the Safe Mode before you uninstall GPU drivers:
Once the system restarts and you uncheck the Safe Boot box, you can now move on to uninstall Nvidia drivers safely.
Methods to Uninstall Nvidia Drivers on Windows 10 and Other OS
Now that your system completed the Safe Boot, follow any of these methods to uninstall Nvidia drivers on Windows 10, and every other OS edition.
Method 1: Uninstall GPU Driver Using the Device Manager
The best way to remove Nvidia drivers is using the Device Manager in Windows. Device Manager is an integrated utility in Windows PC that allows you to manage every single connected device from one platform.
Follow these steps to uninstall the driver using the Device Manager:
- Press Windows+S keys from your keyboard and type Device Manager.
- Click on the first result and wait for the program to load.
- In the Device Manager window, look for Display Adapters and expand this head.
- Under Display Adapters, you will find your Nvidia graphics card driver listed. Right-click on the driver to show the drop-down menu.
- From the drop-down menu, select the option named Uninstall.
- Windows will ask for confirmation for the act. Check the Delete the driver software for this device box then press Ok.
- Windows will delete Nvidia drivers within a couple of seconds.
- Restart the computer to set the changes made.
This method can work as an Nvidia driver cleaner for your PC and get rid of every file related to the same. You can also take the help of the next method as an alternative.
Method 2: Uninstall Graphics Driver with the Help of the Control Panel
If the above-explained method looks a little complicated, you can also use the Control Panel as an Nvidia uninstaller. Control Panel provides an access to all the installed programs and applications. You can use it to delete and modify the same.
Follow these easy steps to uninstall GeForce experience and the graphics driver with the Control Panel:
- Press the Win+R buttons on the keyboard and launch the Windows Run utility.
- In the Run search bar, type Control Panel and click on OK.
- After the Control Panel launches, click on Programs.
- Now click on Uninstall a Program.
- The Control panel will list every program installed on your device. From this list, look for the programs named with Nvidia.
- Right-click on every Nvidia program and select Uninstall. Follow the general instructions to remove the drivers from your PC.
- After you delete Nvidia drivers, restart the system to apply the change.
With the help of these two methods, you can readily remove Nvidia drivers from your PC. once you uninstall the driver, the respective GPU will not run properly until you install the driver again.
However, if you want to fix windows 10 hardware problems and other problems related to graphics drivers, you can take the help of the solution listed below.
Use the Bit Driver Updater to Fix Windows 10 Errors (Recommended)
Your decision to uninstall the Nvidia driver may not be the wisest. If you are facing any problems in running the GPU, you can repair the drivers instead. Download and install the Bit Driver Updater to fix windows 10 errors and every other problem related to drivers.
Most of the time, outdated drivers are the main reason behind a GPU not working properly. The Bit Driver Updater allows you to update the driver or schedule the same as you like. You can also create a backup of the driver(s) and restore it effectively as and when required.
Follow these simple steps to download the Bit Driver Updater and use the same to fix graphics driver problems:
- Download, install and launch the Bit Driver Updater.
- On the main page of the updating utility, select the Scan Now option.
- Let the tool complete the thorough system scan and list all outdated drivers.
- On the bottom part of the interface, find the Update All button and press it.
- The tool will update all the outdated drivers on your system within a couple of seconds.
- After the installation is complete, restart your Windows device.
With the help of this method, you can save yourself from the hassle to uninstall Nvidia drivers and fix them instead. This method is a much better alternative than removing the driver as the former may cause complications.
Tip- Honorary Mentions to Download and Update Nvidia Drivers on Windows 10 PC
If you are facing problems during the gameplay, you should download or update the Nvidia graphics driver on Windows 10 PC. With the help of these methods, you can get the latest version of Nvidia drivers if your system does not have the same.
Wrapping Up on the Solutions to Uninstall Nvidia Drivers
So, these were some of the most effective and safe methods to uninstall Nvidia drivers on Windows editions very easily. We recommend that you use these methods only if you are hell-bent on the task.
If not, you should consider download and using the Bit Driver Updater to fix all your driver issues and to fix windows 10 hardware issues easily. This is the most effective method when it comes to running drivers smoothly.
These methods will work as GPU driver uninstallers. Uninstalling drivers may fail the GPU. You may face game lags, crashes, flickers, stutters, and whatnot. So, to save yourself from such inconvenience, update Nvidia Drivers instead.
If you want your queries related to uninstall graphics drivers addressed, write the same in the comment section provided below. Subscribe to our Innovana Thinklabs Blog newsletter to get regular tech updates and solutions. Stay ahead with working tech solutions easily.
