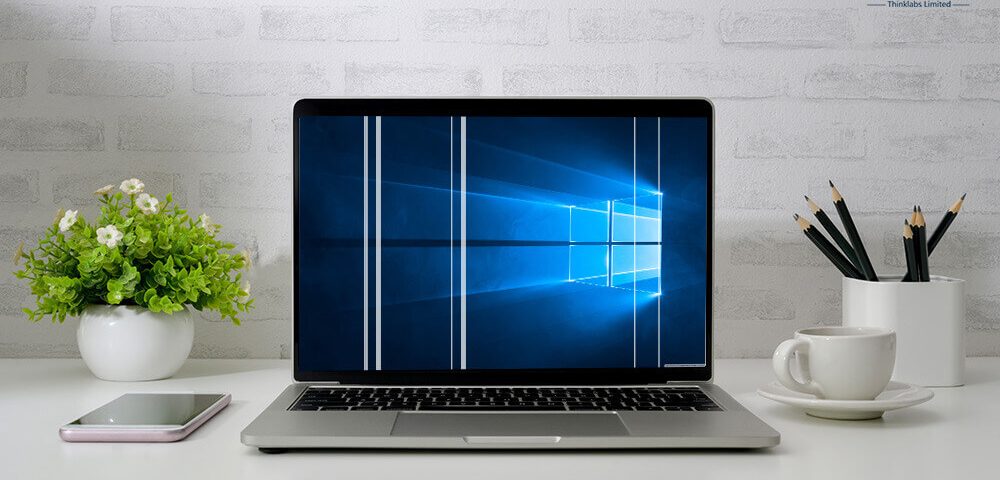
How to Fix Vertical Lines on the Computer Screen

7 Best Free Internet Security Software for Windows 10 in 2021
12 diciembre, 2021
Top 7 Best Free Photoshop Alternatives (Windows & Mac)
12 diciembre, 2021How to Fix Vertical Lines on the Computer Screen
If the vertical lines on the monitor are hampering your experience, then remove them easily with the solutions shared in this post.
How is the feeling when you sit in front of a PC to play games but all that you see are the vertical lines on the computer screen? Most probably, you feel annoyed. Well, not only you most of the users feel the same. But, now you can put all your worries aside as we are here with the simple and quick solutions to fix the issue
Strongly Recommended Solution To Fix Vertical Lines Problem
If you are in a hurry to know the best solution to resolve vertical lines issues on the computer screen, then we recommend you to use Bit Driver Updater. A faulty graphics driver is one of the main reasons why issues like this occur. Hence, updating your graphics card driver can help you a lot in fixing these errors. Bit Driver Updater is the easiest solution to upgrade your device drivers. We have also described it with various other effective fixes listed here. So, if you want to know more about it, then you refer to that section of the post. Here is the download button that you can use to quickly download the software.
![download now button]()
Along with the Bit Driver Updater, you can also try other helpful methods to resolve vertical lines issue on your PC. Below we have mentioned all of them. But, before moving on to them, let’s first get to the root of the problem. The issue of vertical lines on the monitor is caused by multiple reasons. Below we enlist the central ones out of them.
6 Quick and Easy Solutions for Vertical Lines on the Computer Screen
Below are the simple solutions you can try to fix vertical lines on the computer screen for that unmatched gaming and computing experience.
Solution 1: Change the Display Resolution Settings
altering the display resolution settings may help you fix vertical lines on the computer screen effortlessly. Below are the steps to do it.
Step 1: Press the Windows logo and R keys to open the Run box.
Step 2: In the Run box, type Control Panel and click on OK.
Step 3: After Control Panel opens, move to Appearance and Personalization.
Step 4: Once the Appearance and Personalization window opens, select “Adjust screen resolution.”
Step 5: Click on Resolution and then select the recommended resolution from the drop-down menu that appears.
Read More: SOLVED: Driver Power State Failure on Windows 10
Solution 2: Install a Previous Driver Version of Video Card
Sometimes, downgrading the video card also helps to remove vertical lines present on the computer screen with ease. Here is how to do it.
Step 1: Launch the Run box and type devmgmt.msc in the empty box.
Step 2: Click on OK to launch the Device Manager.
Step 3: Click on the arrow before the Display adapters category to expand it.
Step 4: Right-click on your display adapter and choose Properties from the menu that appears.
Step 5: Check the current driver version.
Step 6: Downgrade the current version to the previous one.
Solution 3: Use the Troubleshooter
Fixing the vertical lines on the monitor is also easy by troubleshooting the display quality. All that you are required to do is, follow the below steps to do it effortlessly.
Step 1: Open Control Panel.
Step 2: Click on view by and choose Large icons.
Step 3: Click on Display and from the left pane select View All.
Step 4: Choose Display Quality and then follow the steps given in solution 1 to tweak the display quality.
Read More: How to Update Drivers on Windows 10 Easily
Solution 4: Check the BIOS
Checking the BIOS in Windows 10 gives you an idea of whether the vertical lines on the computer screen are a result of hardware or software issues. Knowing the cause helps you solve the problem better. Thus, below are the steps to check BIOS.
Step 1: Shut down your PC without disconnecting the power cable.
Step 2: After turning it on again, hit F10 many times.
If you still see vertical lines on the computer screen, then it means there is hardware issue. In this case, you need to perform a forced PC reset and BIOS update.
Solution 5: Reboot the PC
If the vertical lines on the monitor still trouble you, then try rebooting it. Here we share the steps to do it without any cumbersome efforts.
Step 1: Type msconfig in the Windows 10 search box.
Step 2: Choose System Configuration.
Step 3: Move to the Services tab and choose the Hide all Microsoft services box.
Step 4: Choose Disable all and move to the Startup tab.
Step 5: Select Open Task Manager.
Step 6: Close the Task Manager and select OK.
Step 7: Lastly, boot your PC again.
Solution 6: Update the Drivers
Now comes the ultimate solution for all your PC problems including the vertical lines on the monitor. Driver update can undoubtedly fix this issue. For those who are uninitiated, driver is a software that makes the hardware execute your instructions correctly. Without updated drivers, the PC starts behaving erratically. You can update them both automatically and manually.
Since the manual update is not possible without cumbersome efforts, we suggest you get the best driver update software such as Bit Driver Updater. This software not only updates the drivers but also gives your PC a new lease of life. Below are its prominent features.
- It comes with a host of PC optimization tools.
- Boasts a driver backup and restore functionality.
- There is support for all the latest Windows versions and multiple languages.
- Increases your PC’s speed by approximately 50%.
This list is not the end, you’ll get to know many other features of Bit Driver Updater once you start using it.
Vertical Lines on the Computer Screen: Solved
Hopefully, you no longer get troubled by the vertical lines on the monitor. Before bidding adieu, we would like to suggest that always keep drivers updated using some of the best software to update and repair PC hardware drivers. If you do it, then you’ll not face such issues. Lastly, don’t forget to hit that bookmark icon so that you never miss out on any post from Innovana Blog.
