How to Fix Data Error (Cyclic Redundancy Check) Easily & Quickly

How to Solve Call of Duty: Warzone Connection Failed in Windows [fixed]
4 enero, 2022
How to Fix Network Discovery is Turned Off in Windows 10 and 11
5 enero, 2022How to Fix Data Error (Cyclic Redundancy Check) Easily & Quickly
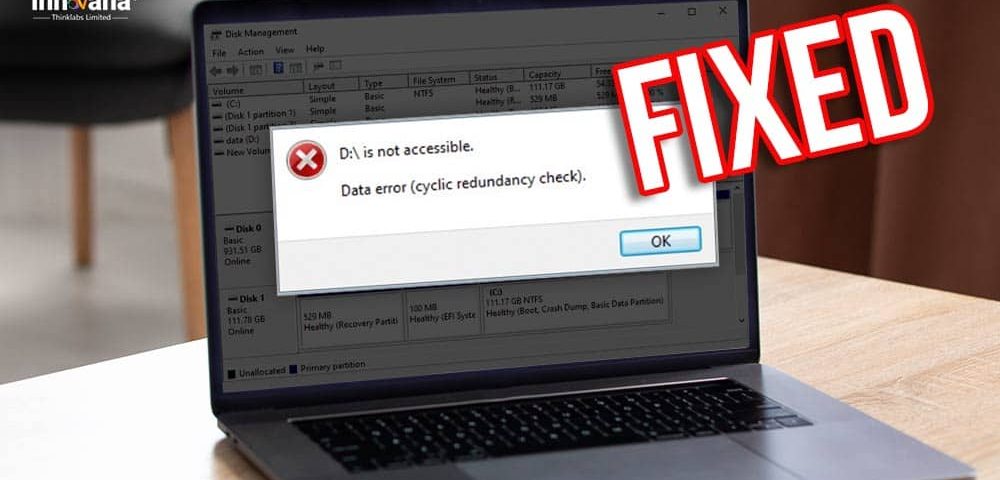
If you want to initialize the disk and fix Data Error (Cyclic Redundancy Check) on the external disk of Windows 10, read this article to know how to do it in the easiest possible ways.
Cyclic Redundancy Check (CRC) is a method used to find errors occurring in digital data. It shows accidental changes happening in raw data present on storage devices like hard disk drives. If you get this error,” you may fear losing data.
But there is no need to fret as this post shares how to fix this error to prevent loss of data.
However, before we jump to the fixes to this problem, let’s first understand this error in a bit more detail.
What is a Data Error?
As we said at the beginning of this article, Cyclic Redundancy Check is an error-detection code used in data verification. It identifies that something is not just right with your hard drive or files.
Talking about the causes of this error, multiple problems can generate it. Let’s take a look at them.
What causes data error Cyclic Redundancy Check?
Below are some of the most common reasons for data error Cyclic Redundancy Check on Windows 10.
- Sudden power outages
- Incorrectly removing USB disk
- Virus and malware attacks
- Overaged storage devices
- Hard drive damages
- Unsuitable environment
After learning about what this error means and its causes, let’s discuss how to fix the Cyclic Redundancy Check.
Fixes for data error Cyclic Redundancy Check
You can apply these solutions to fix the data error on Windows 10.
Fix 1: Perform CHKDSK scan
CHKDSK command checks the hard drive’s integrity and fixes various system issues, like the data error Cyclic Redundancy Check. Thus, below are the steps to execute it.
- Using your computer’s search bar, look for and open Command Prompt as an administrator.
- In the command line, input chkdsk X: /f. Here, X is your hard drive or storage device’s letter.
- Press Enter to execute the command.
- Wait till the CHKDSK command is executed completely.
Read More: How to Fix “PCI Data Acquisition and Signal Processing Controller Driver Missing” on Windows 10
Fix 2: Execute SFC scanning
An SFC scan or System File Checker repairs the files of your operating system to fix the data error Cyclic Redundancy Check. Thus, below we acquaint you with the steps to run it.
- Launch the Command Prompt as an administrator.
- Input sfc/scannow in the Command Prompt and press Enter.
- Wait for the scanning process to conclude.
Fix 3: Recover the data
As a last resort, you can recover your data from the hard disk on which you are experiencing the data error. To do so, you can take help from one of the best data recovery software available currently. These programs come loaded with features, such as the recovery of deleted files, previewing files before recovering them, etc.
Concluding fixes for data error (Cyclic Redundancy Check)
Through this post, we discussed how to fix the data error Cyclic Redundancy Check on Windows 10. You can apply the above fixes to solve the problem and save your data from getting lost forever.
If you know other better ways to fix this error on an external hard drive, let us know via the comments section below.
For more information on how to solve other computer issues, stay tuned to this blog.
